Setting Up Your LinX CGM Sensor: A Step-by-Step Guide

Setting up your LinX CGM Sensor is simple and can be done in a few easy steps, even for those who are new to continuous glucose monitoring. Here’s a comprehensive guide to getting started with your LinX CGM Sensor:
-
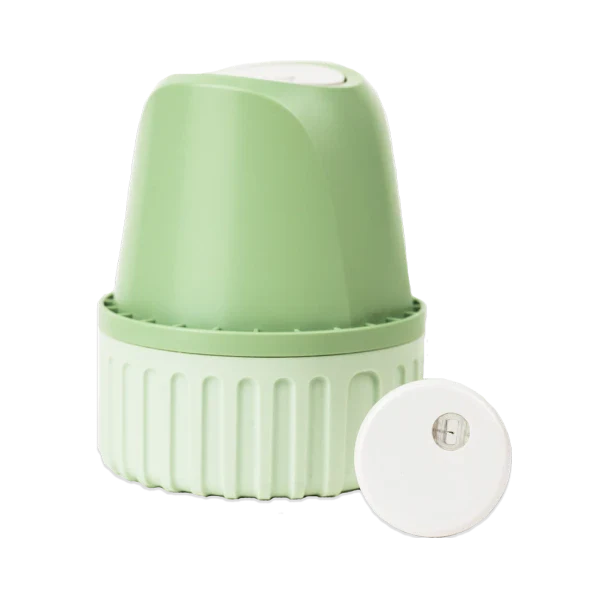
Unbox and Prepare: Open your LinX CGM Sensor package and make sure all components are present. You should have the sensor, adhesive, and instructions.
-
Clean the Application Site: Select a clean, flat area on your body—preferably on your upper arm or abdomen. Use an alcohol swab to thoroughly clean the area, ensuring the adhesive will stick securely.
-
Apply the Sensor: Remove the adhesive backing and carefully press the sensor onto your chosen area. Hold it in place for a few seconds to ensure a tight fit.
-
Pair with the App: Download the LinX CGM App from the Google Play Store (for Android devices) or the Apple App Store (for iPhones). Open the app and follow the on-screen instructions to pair the sensor with your phone. This typically involves activating Bluetooth and waiting for the app to recognize your device.
-
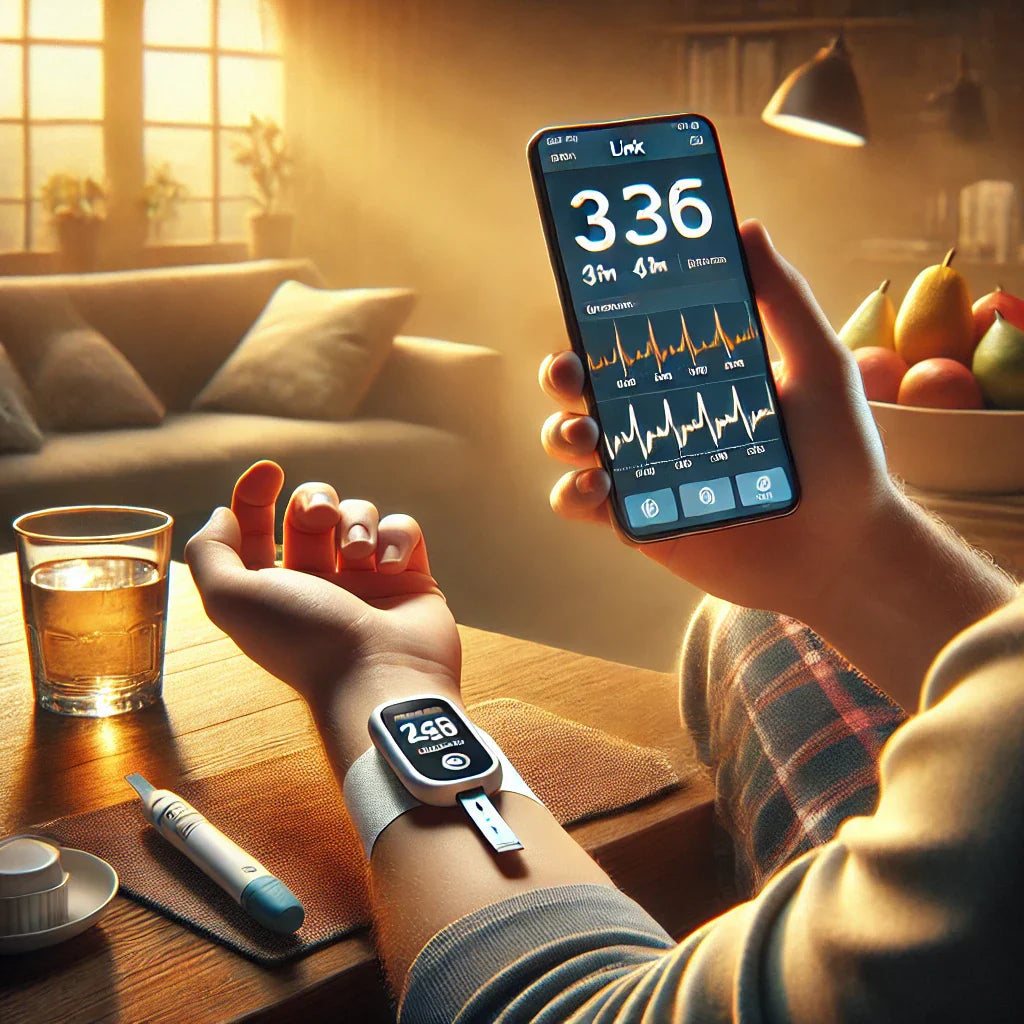
Monitor Your Glucose Levels: Once paired, your sensor will immediately start collecting data. You can view your glucose levels in real time, access trend reports, and set alerts for your preferred glucose range directly within the app.
By following these simple steps, you can start benefiting from the real-time insights provided by LinX CGM Sensors, allowing you to stay in control of your health every day.


